CBL-2 Personal Reflection
Project Contribution
My primary role within the project has been that of team communicator/coordinator. I wish to distinguish this from the traditional team leader role because throughout the project I have learned that everyone in the group has shown moments of leadership and accountability for the team. Through previous experiences and communication skills that I acquired, I took it as my duty to motivate team members to cooperate and express their professional opinions during the process. An example of this is how I initiated the project with the online folder structure for organization visible through the workbook. I have also facilitated many of the project discussions during the coach meetings and involved everyone in the group to cooperate. A rough structure of how this usually went is as follows:
- Where are we now?
- What are our next steps?
- Are there any difficulties currently?
- What do we discuss with the coaches from our conversation?
- Debrief.
My secondary tasks include the creation of posters and the design language for both demo-days, integrating electrical and code design for the prototypes, photo-documentation of prototypes and facilitating material explorations using this medium. I have also made a website page about the project which has been shown during final demo-day. You can read more here.
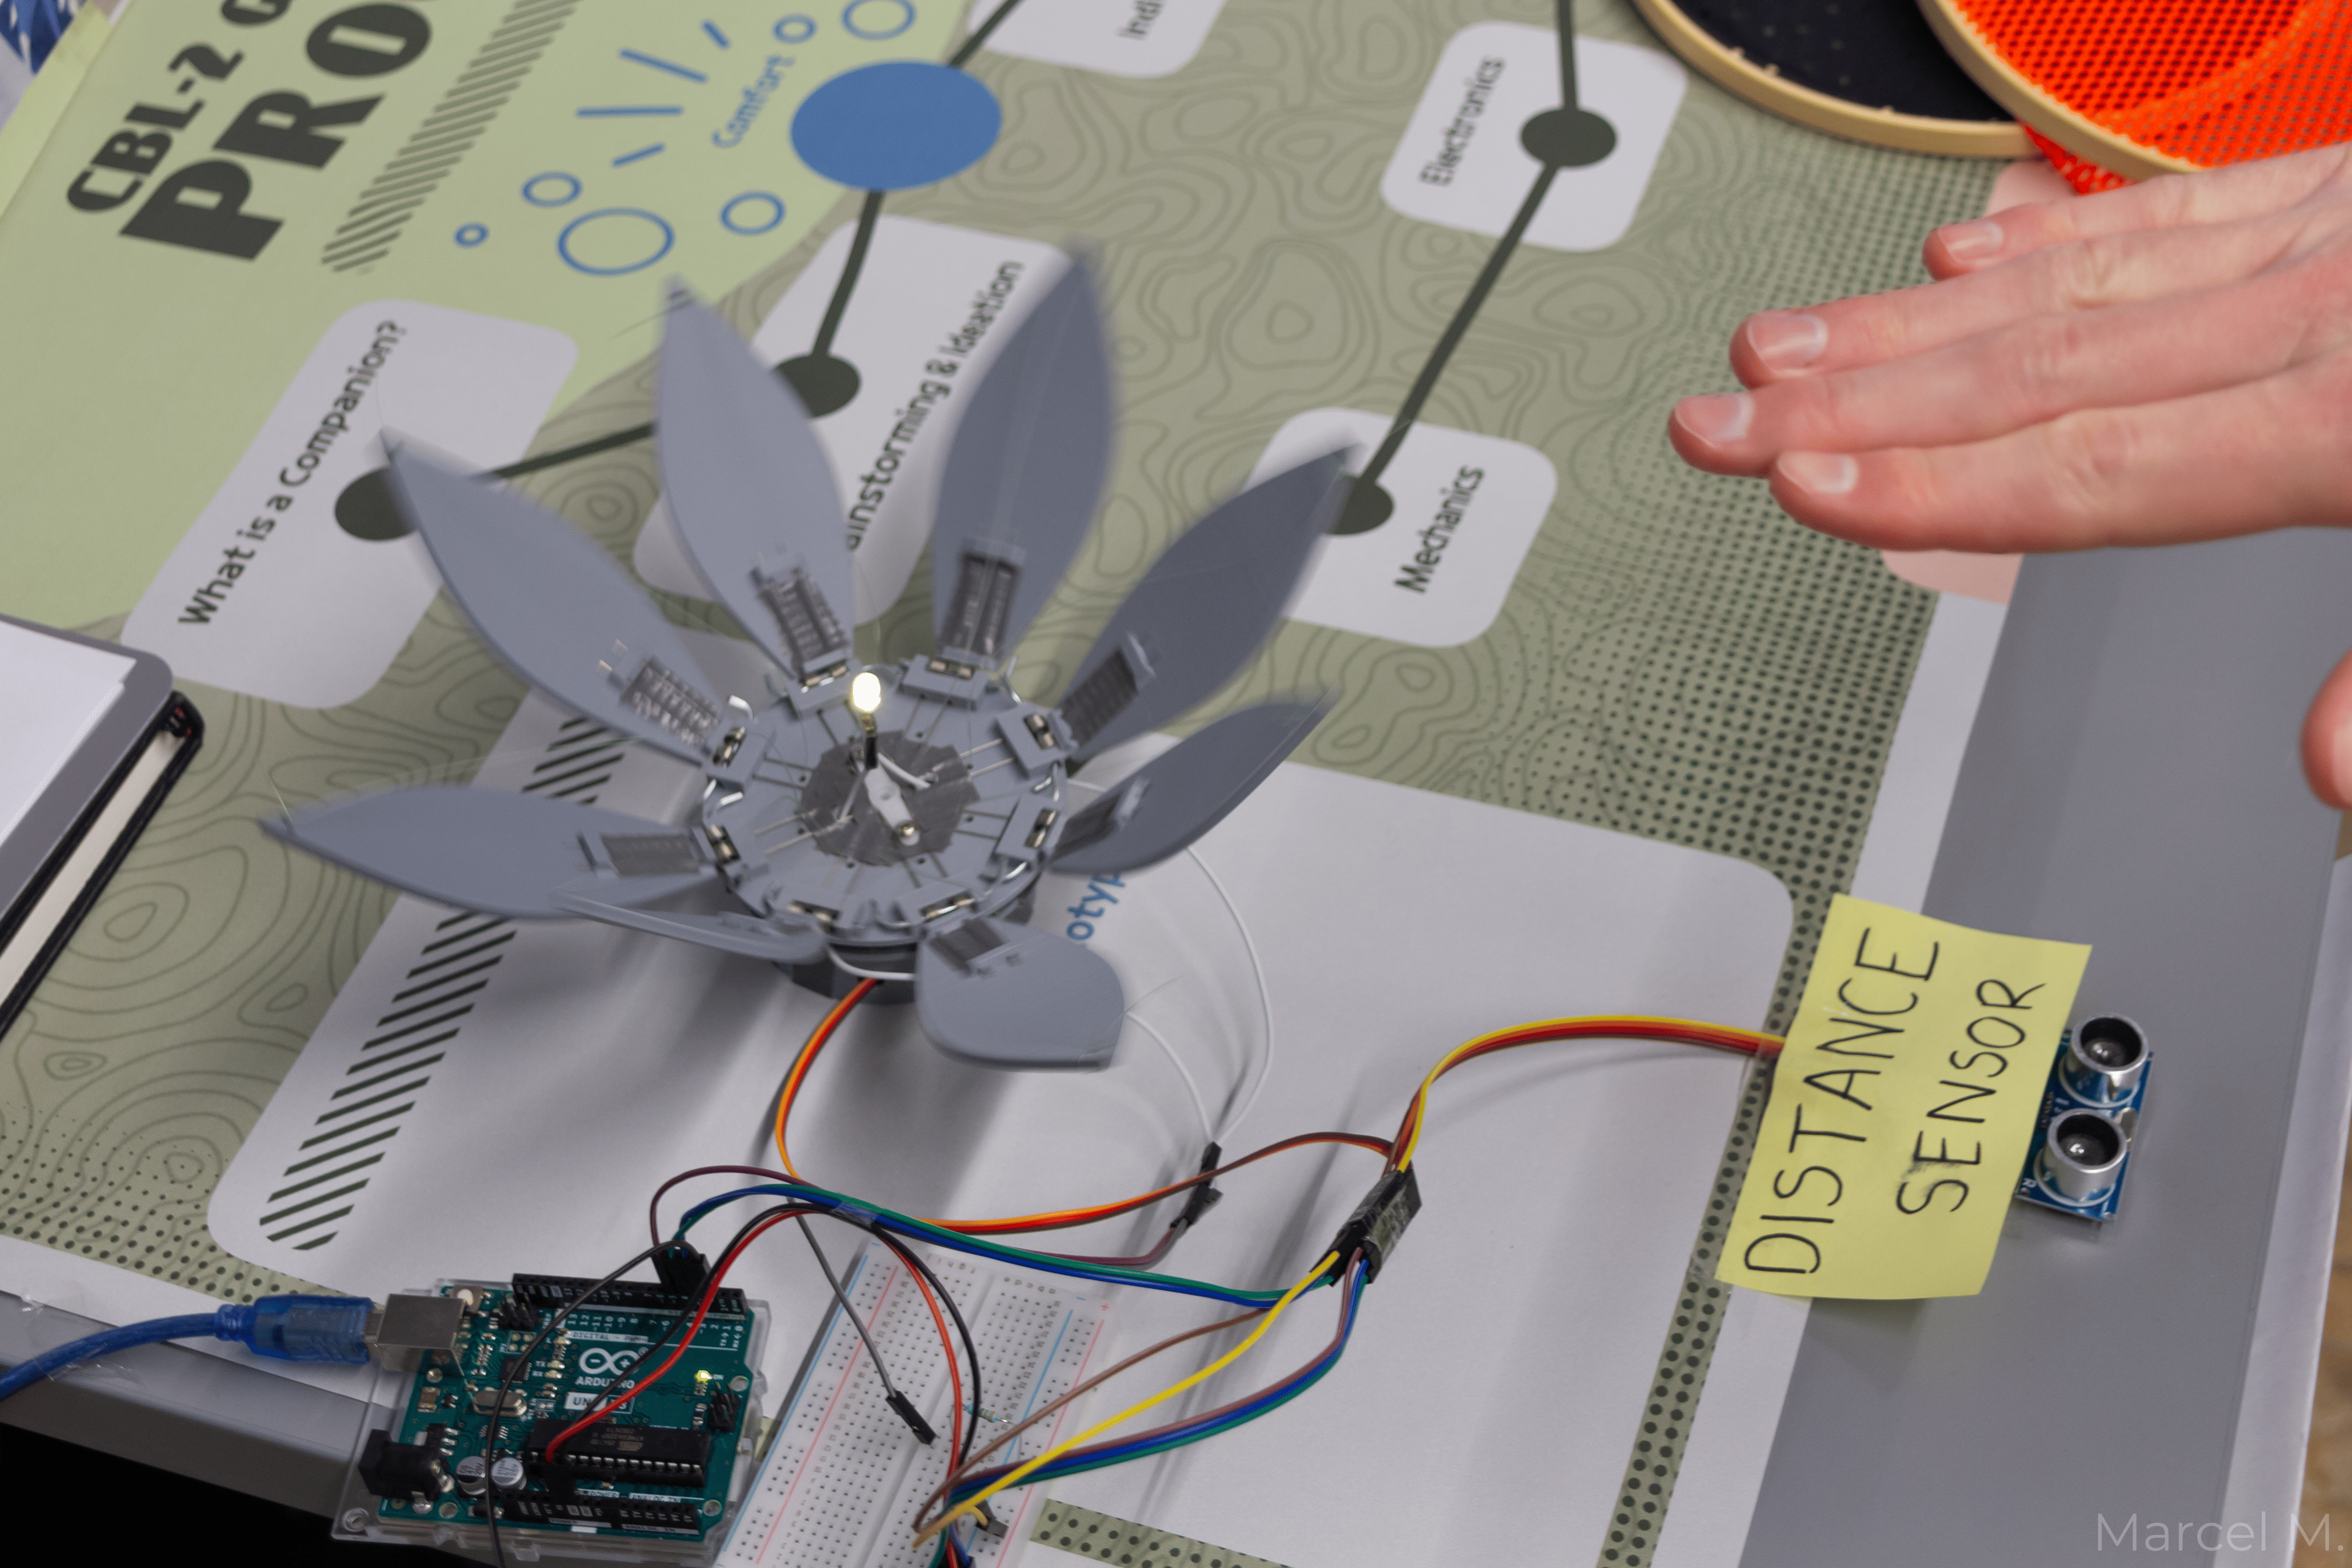
Figure 1: The prototype we showcased at midterm demo-day, the distance sensor logic and filtering was done by me.
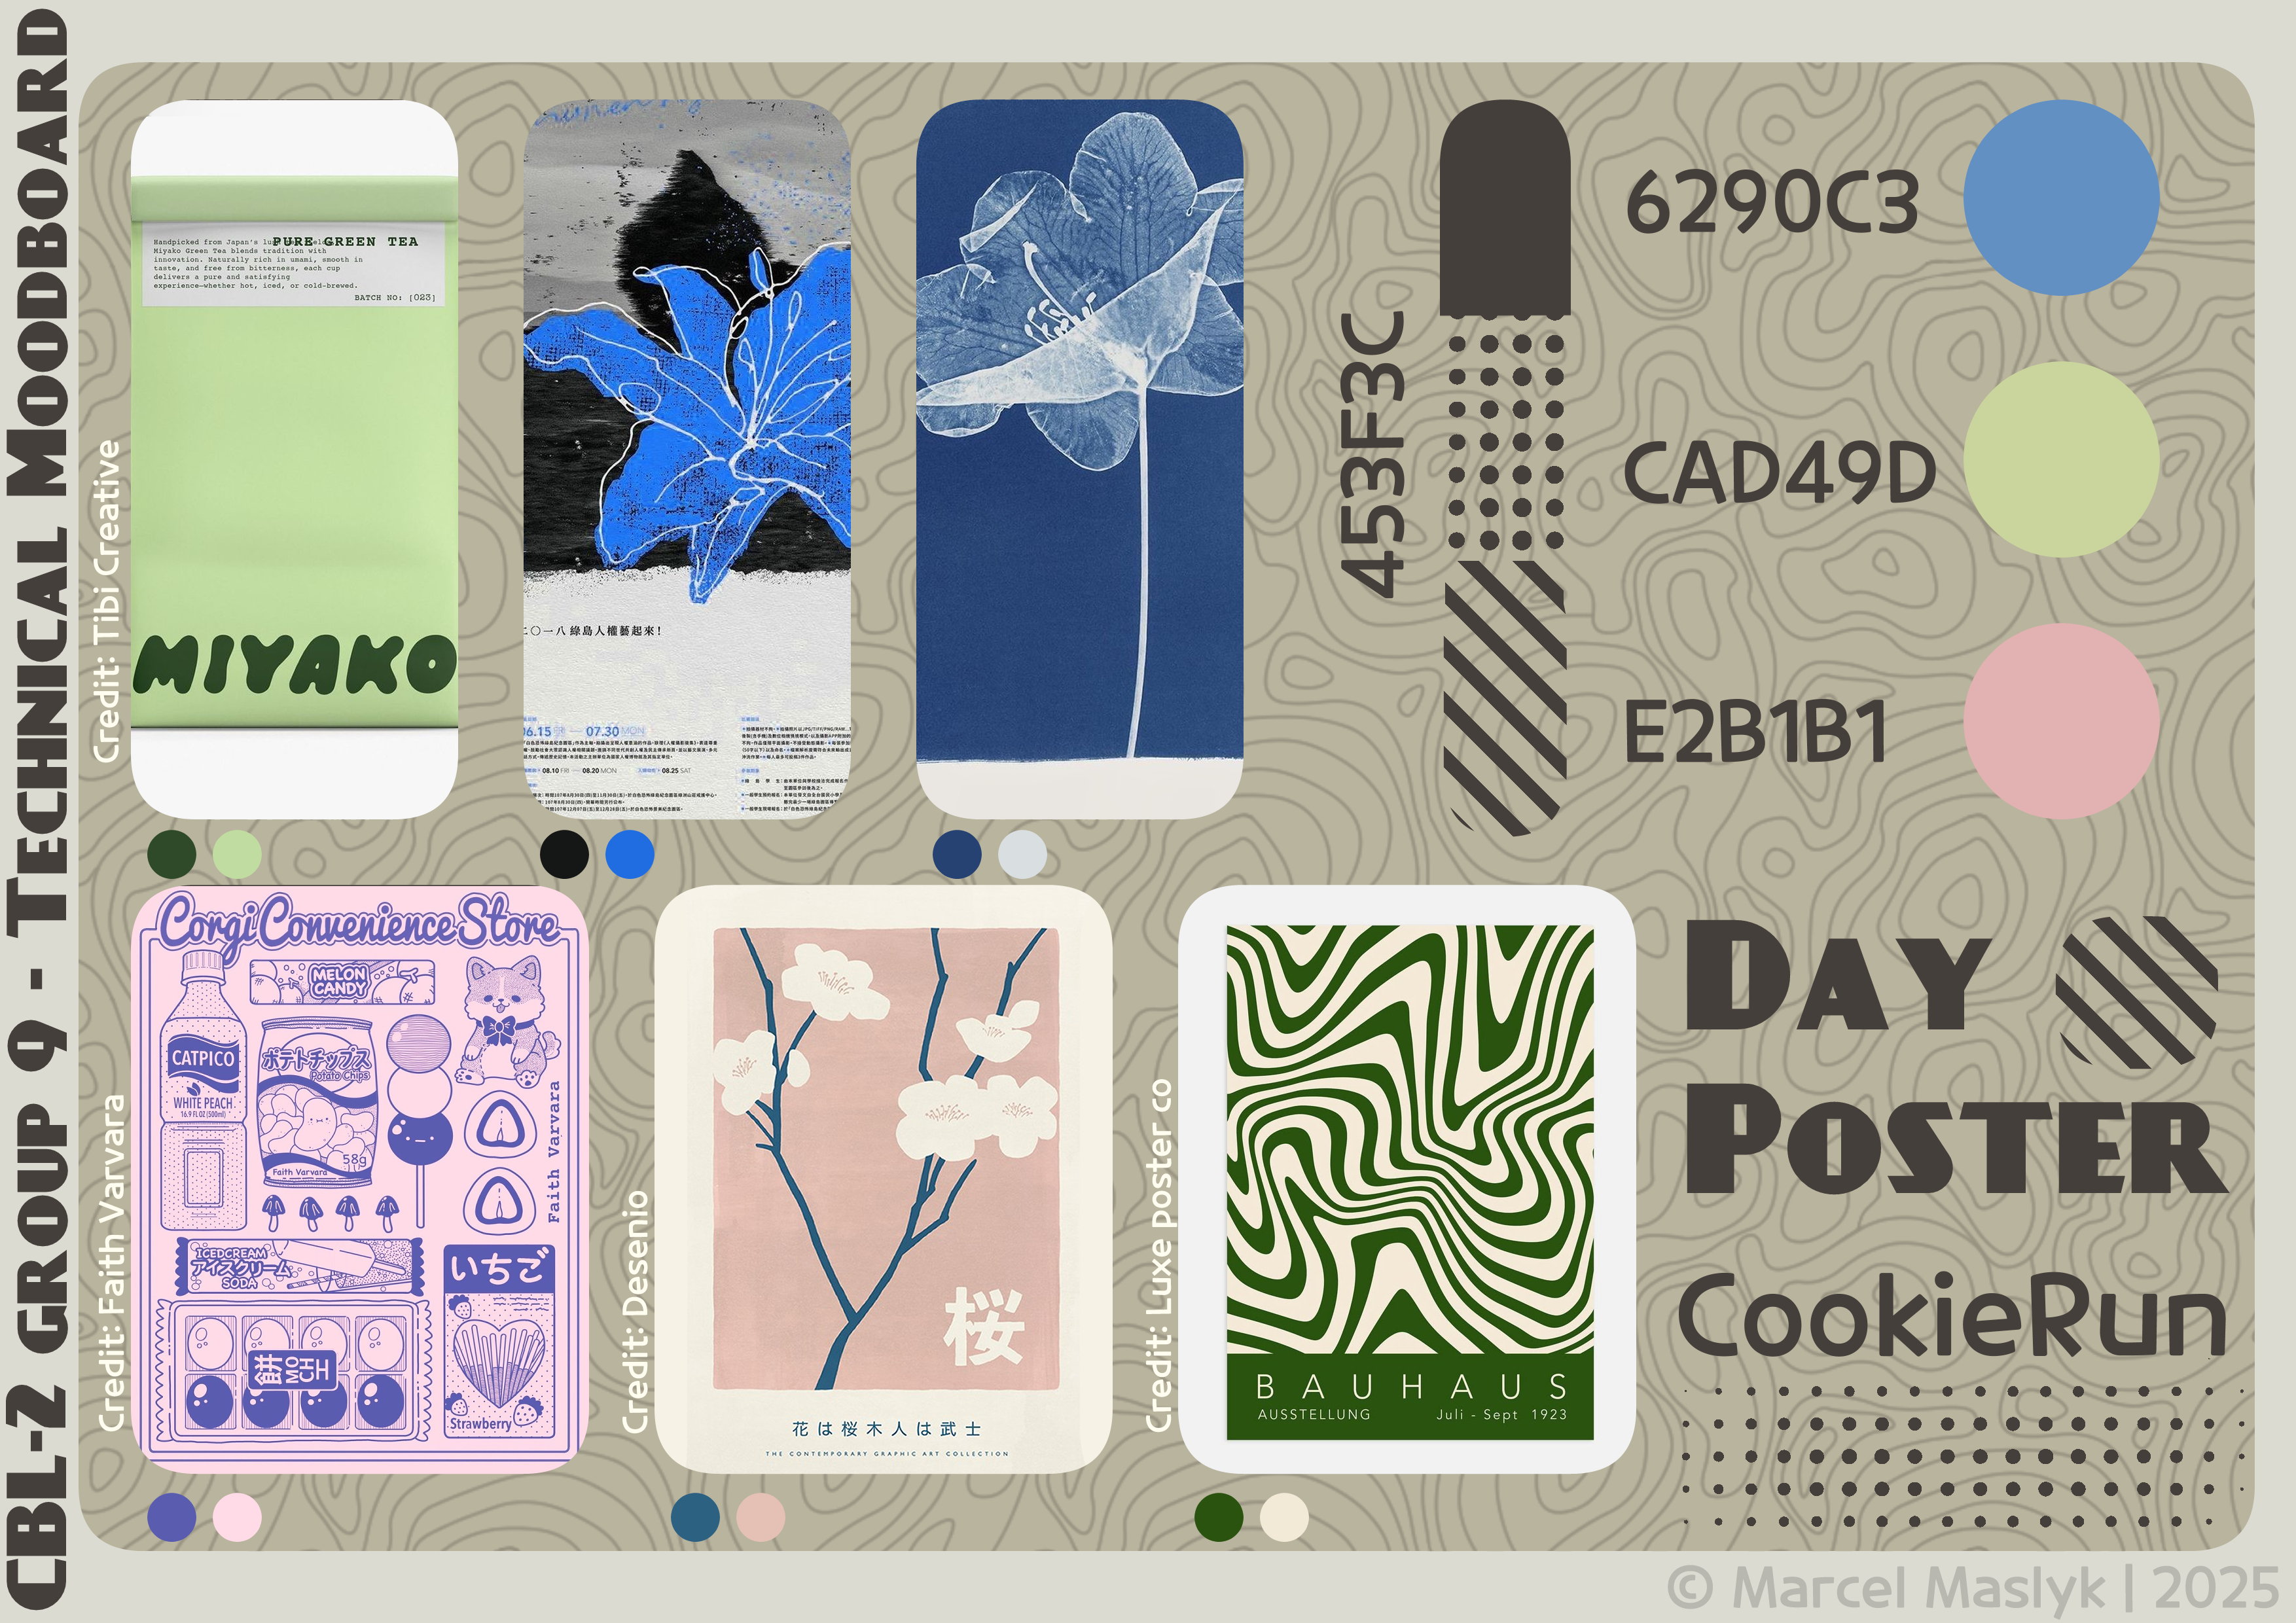
Figure 2: The Technical Moodboard I made for midterm demo-day.
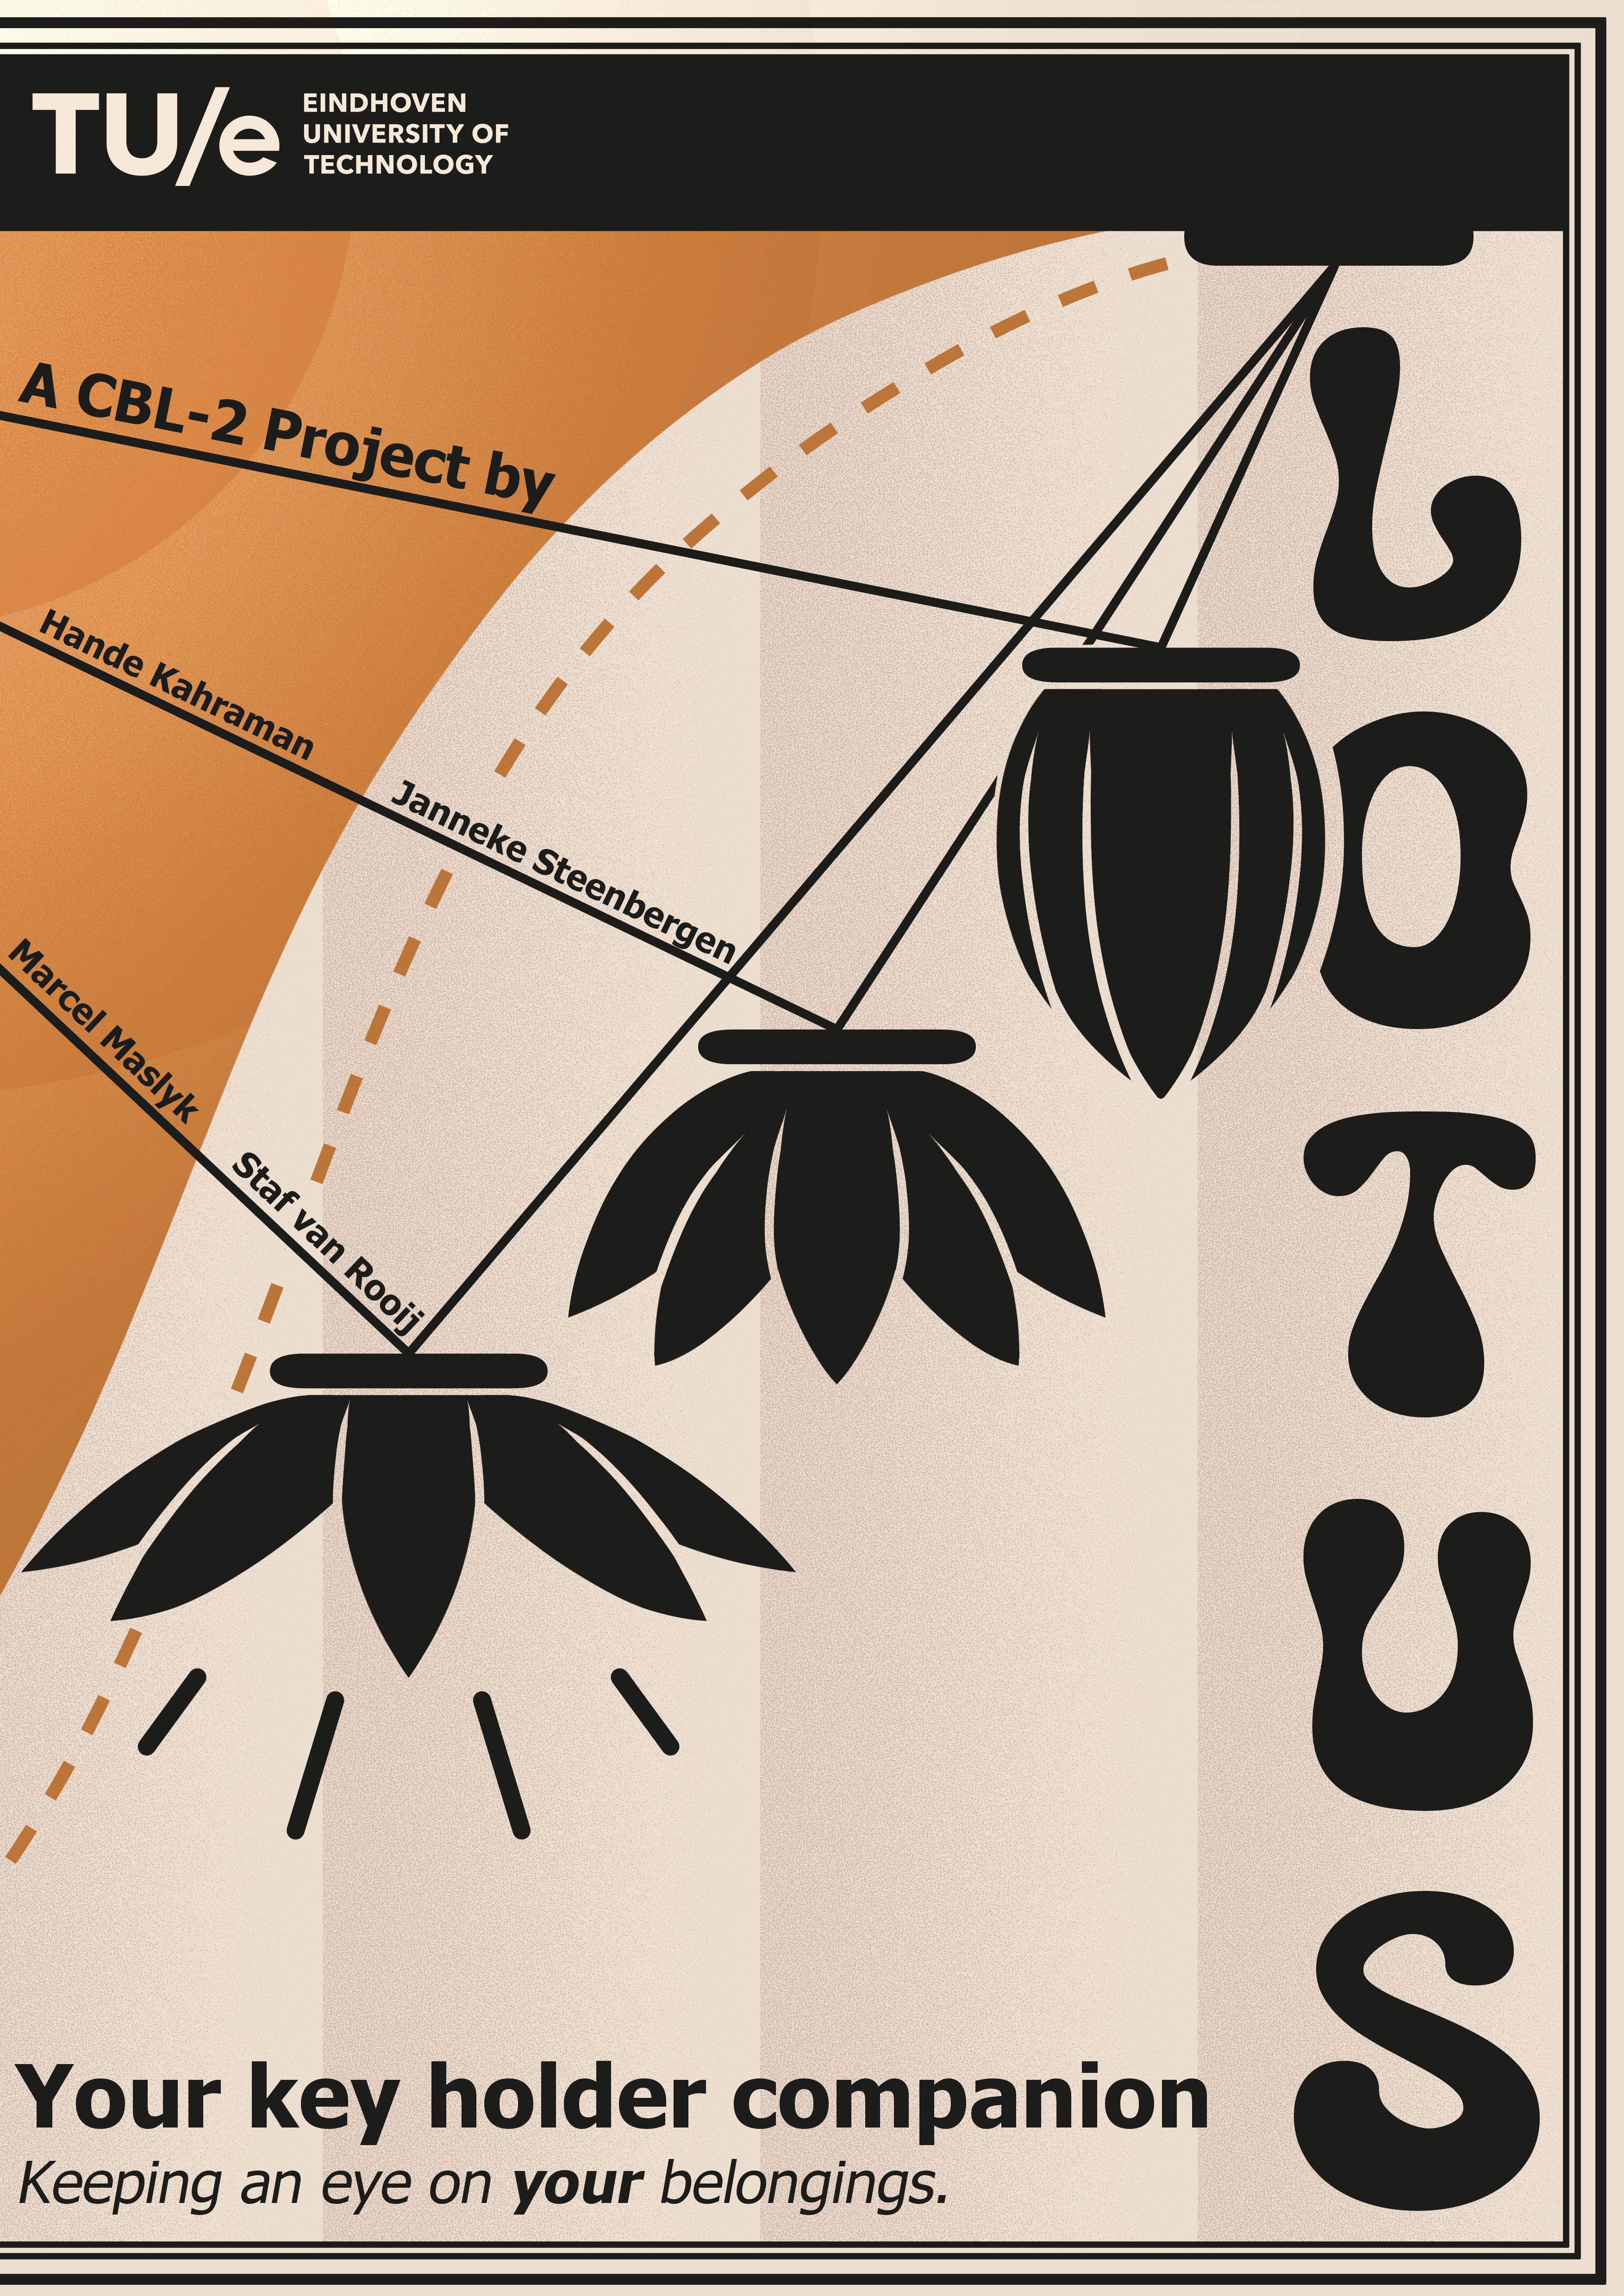
Figure 3: The main poster I made for final demo-day.
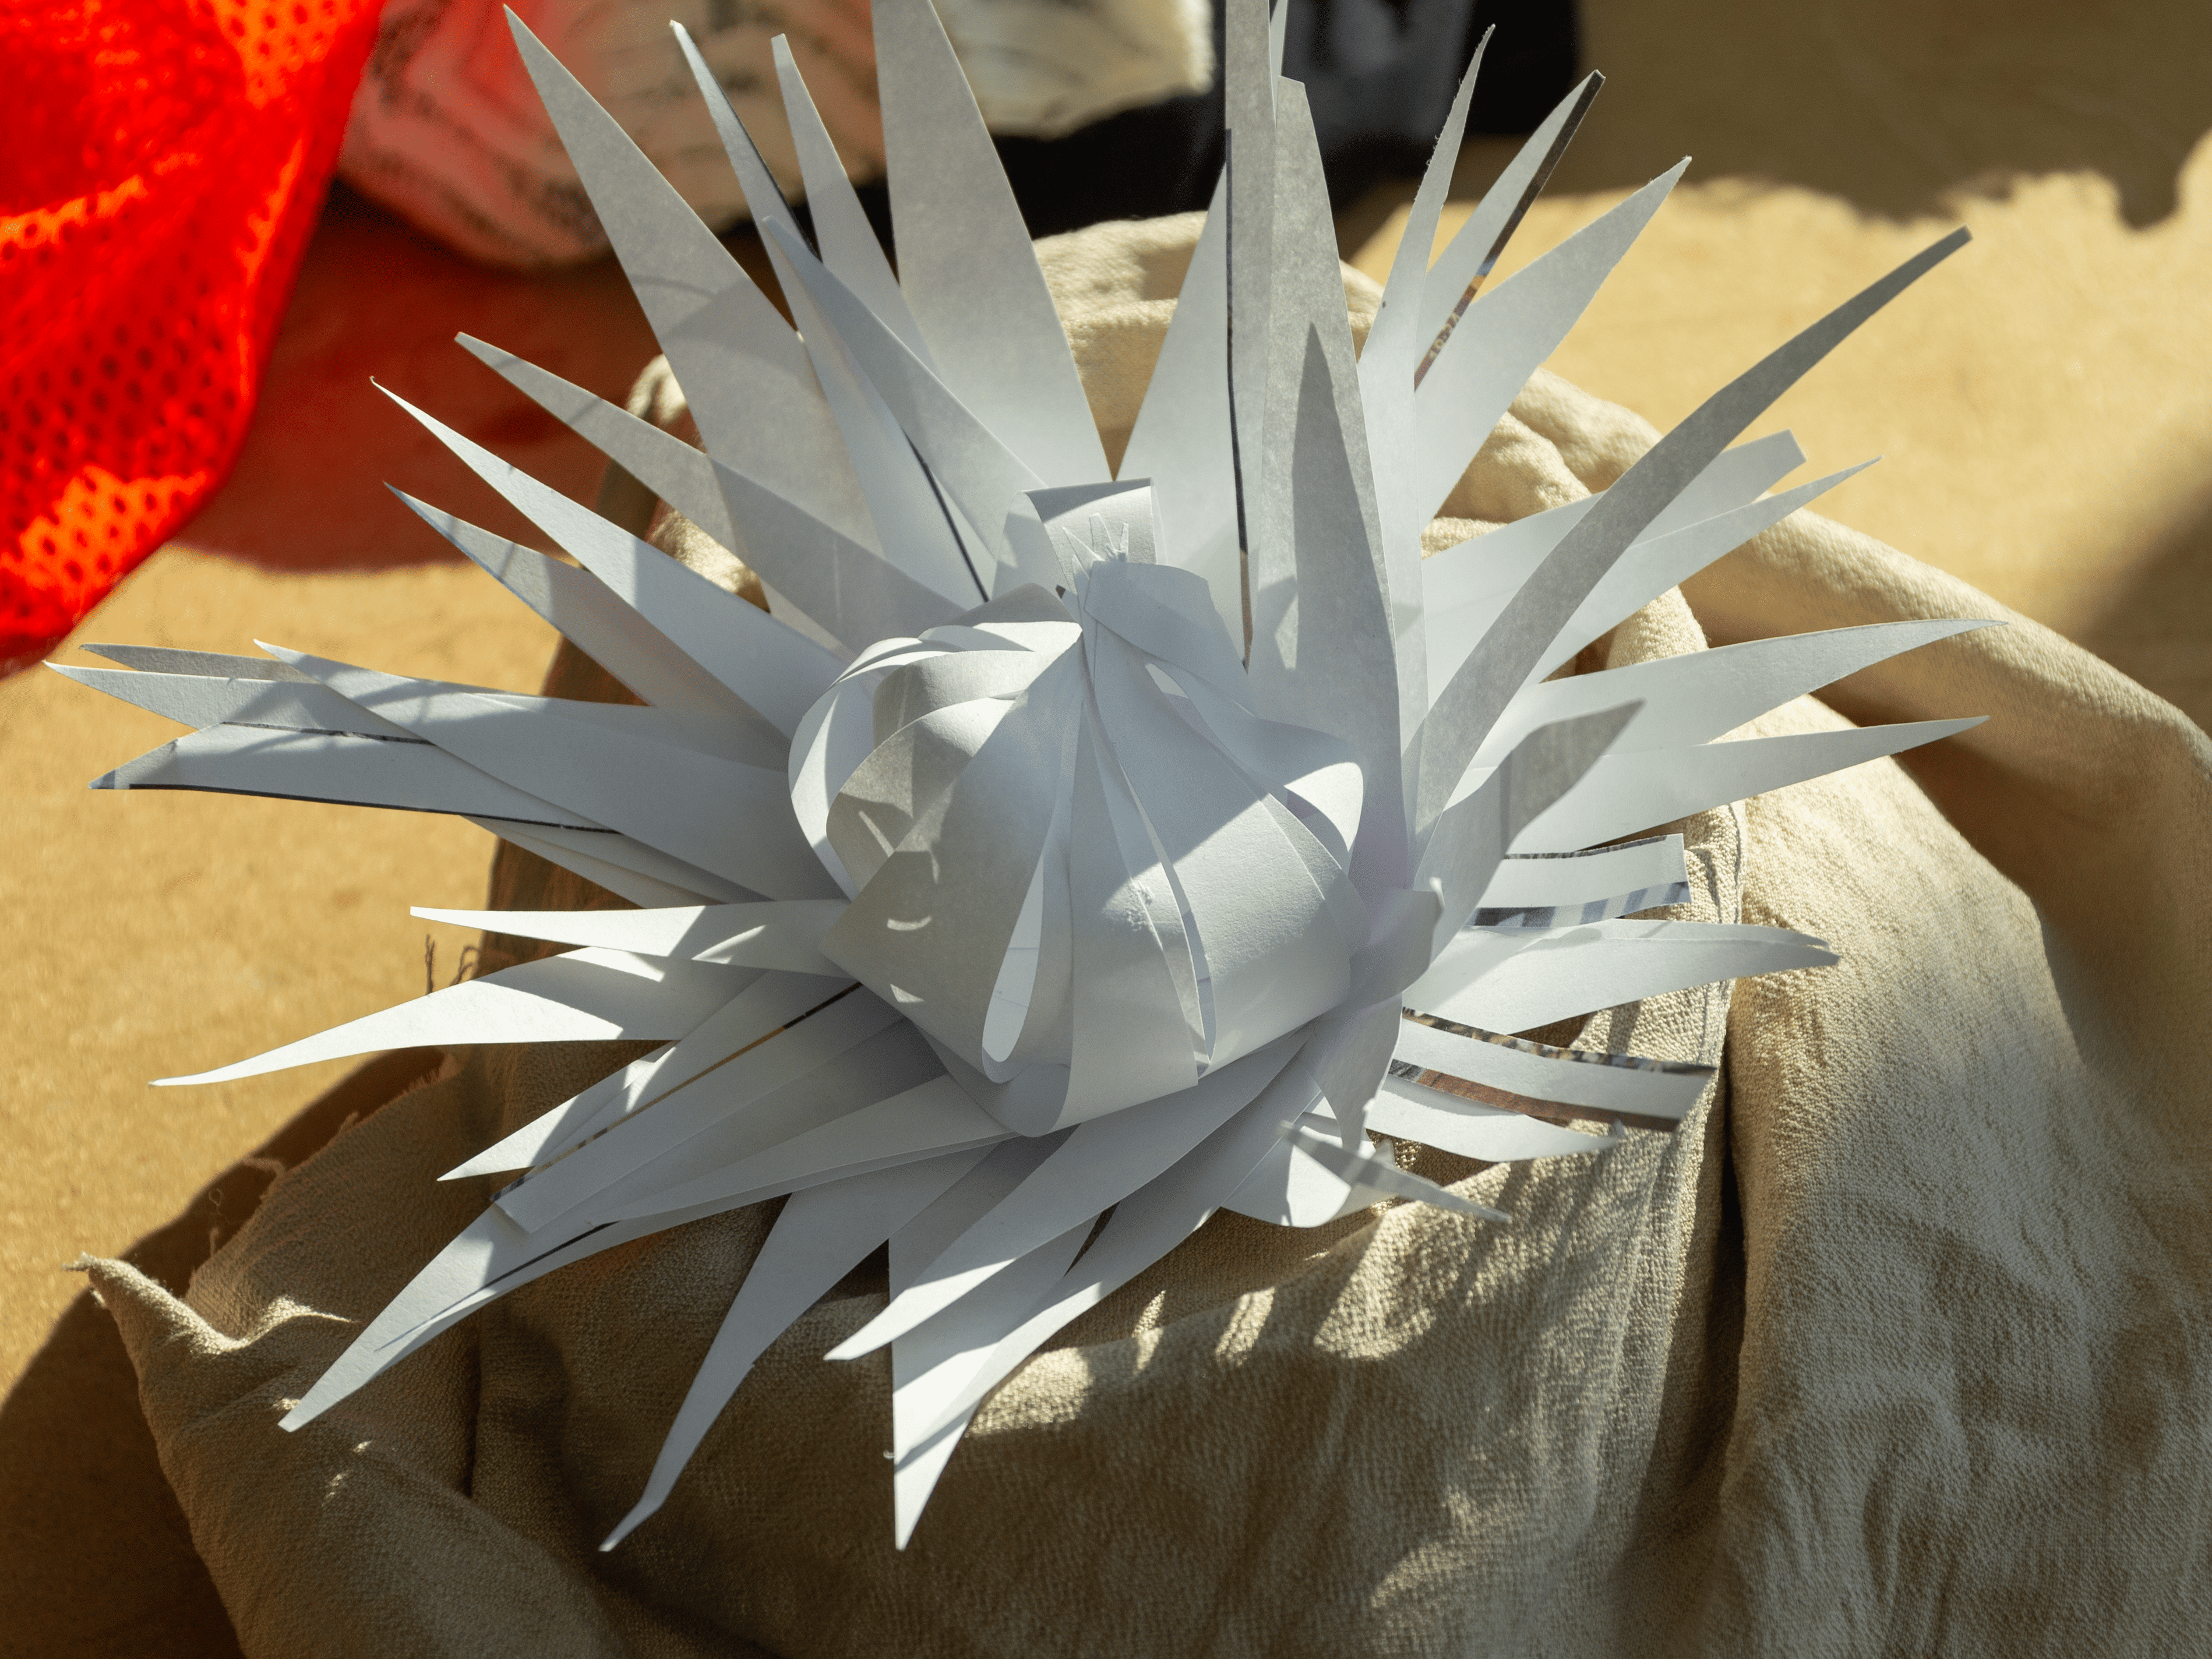
Figure 4: A picture of our creative material exploration, this exploration and the pictures taken have become the core of our project.
Learning Process
Technology & Realization
Technology and Realization is the area of expertise that focuses on understanding and integrating different engineering disciplines into the designing process. During this project, this area has grown into being my main focus in my PDP and overall competence development. What TR signifies for me now is adapting design to take into consideration mechanical and electrical processes and functions, and have a grasp on how these disciplines can actively contribute to the success of a design. In our project, we made sure to build our prototype from the ground up with unusual yet clever mechanical movements in mind.
Through courses connected to CBL-2, such as Creative Programming and the built-in Creative Electronics course of CBL-2, I learned how to cleverly integrate all the necessary parts of the design brief to create a working final prototype; EEPROM memory is used, cases are used to switch between different "states" of the flower prototype, and a lot of custom loops are used to not overcrowd the main loop. Making electrical circuits/diagrams, and coming up with stiff and light mechanical actuation has proven an integral part in learning more about TR and how I can become a more competent designer working within different engineering disciplines, which is something I am actively looking at doing in the coming years at ID.
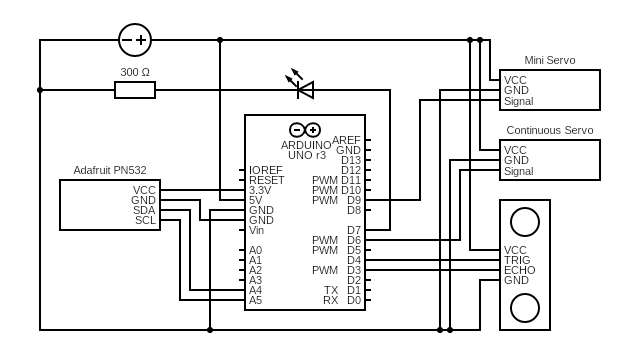
Figure 5: Electrical circuit diagram I made for the project, showcasing what sensors and actuators are used, demonstrating a knowledge of how electronics work and how to properly formulate it in a diagram.
Creativity & Aesthetics
Creativity and Aesthetics refers to coming up with abstract ideas and turning them into realistic and workable concepts. Key being that the decisions taken and final concept are supported by explorative work with professional standards, and that the process taken to get to this point is custom fit to the project and its needs. Whilst during P1 I adhered to the RTDP and Double Diamond structure, during P2 I felt way more free to explore what process works best for the purpose of our companion. We ended up taking a materials-first approach and taking the core mechanical and electrical concepts into account very early after having come up with a basic concept of what we want. Materials and our initial vision for the project played a big role in how the final prototype looked and functioned from a creative and aesthetic point of view.
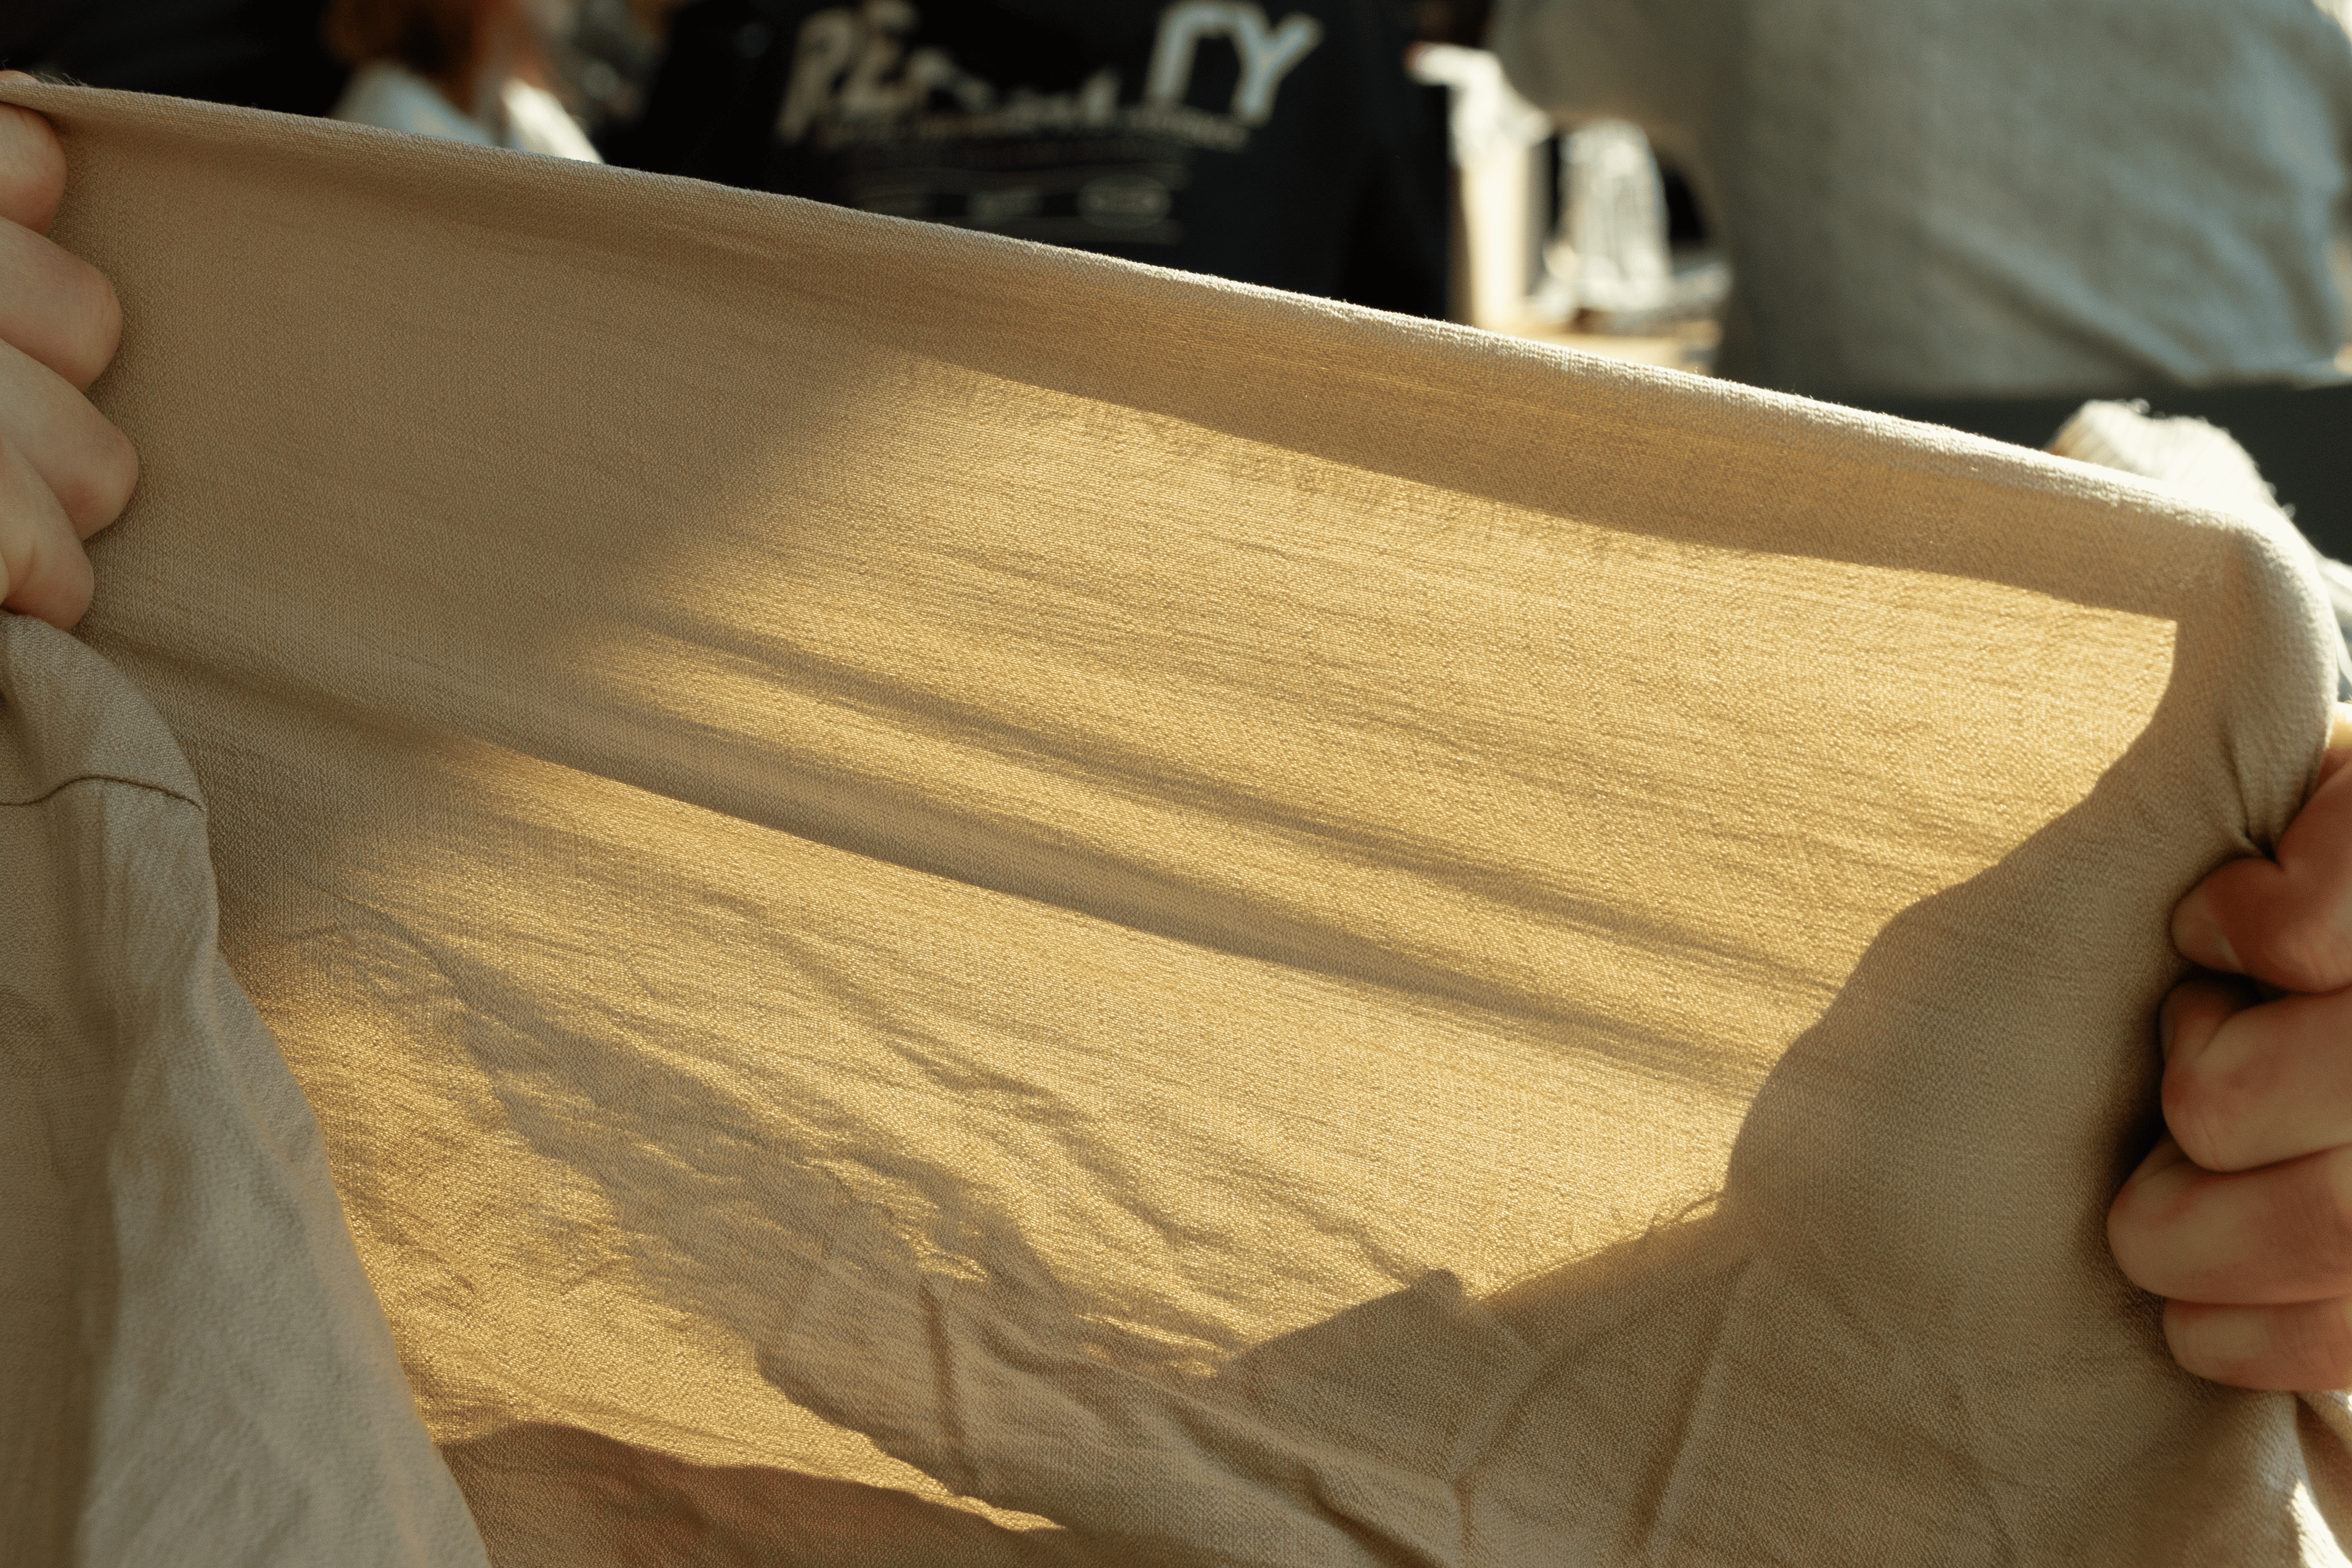
Figure 6: Material Exploration to see the qualities of each sample we brough. Interaction with light and tactile feel ended up being something we wanted to investigate further as a result of our creative process.
User & Society
User and Society is about understanding a design from the perspective of the user or relevant stakeholders, and being able to take take them into account or include them in the designing process. This actually ended up being a significant part of our project through implementing feedback we got at midterm demo day to create a project that really fits within its context; at home. We got feedback from people not familiar with our design or process on what materials they prefer, what movement mechanism they would see fit from the sketches we presented, and if they could visualize our prototype in their home. This feedback led us to our final movement mechanisms and the importance of "subtlety" in movement and sensors, not being bold with audio or light, but rather camouflaged and in context. Many people at final demo-day gave us compliments that they would like something like it in their homes, and subtlety definitely played a role in that.
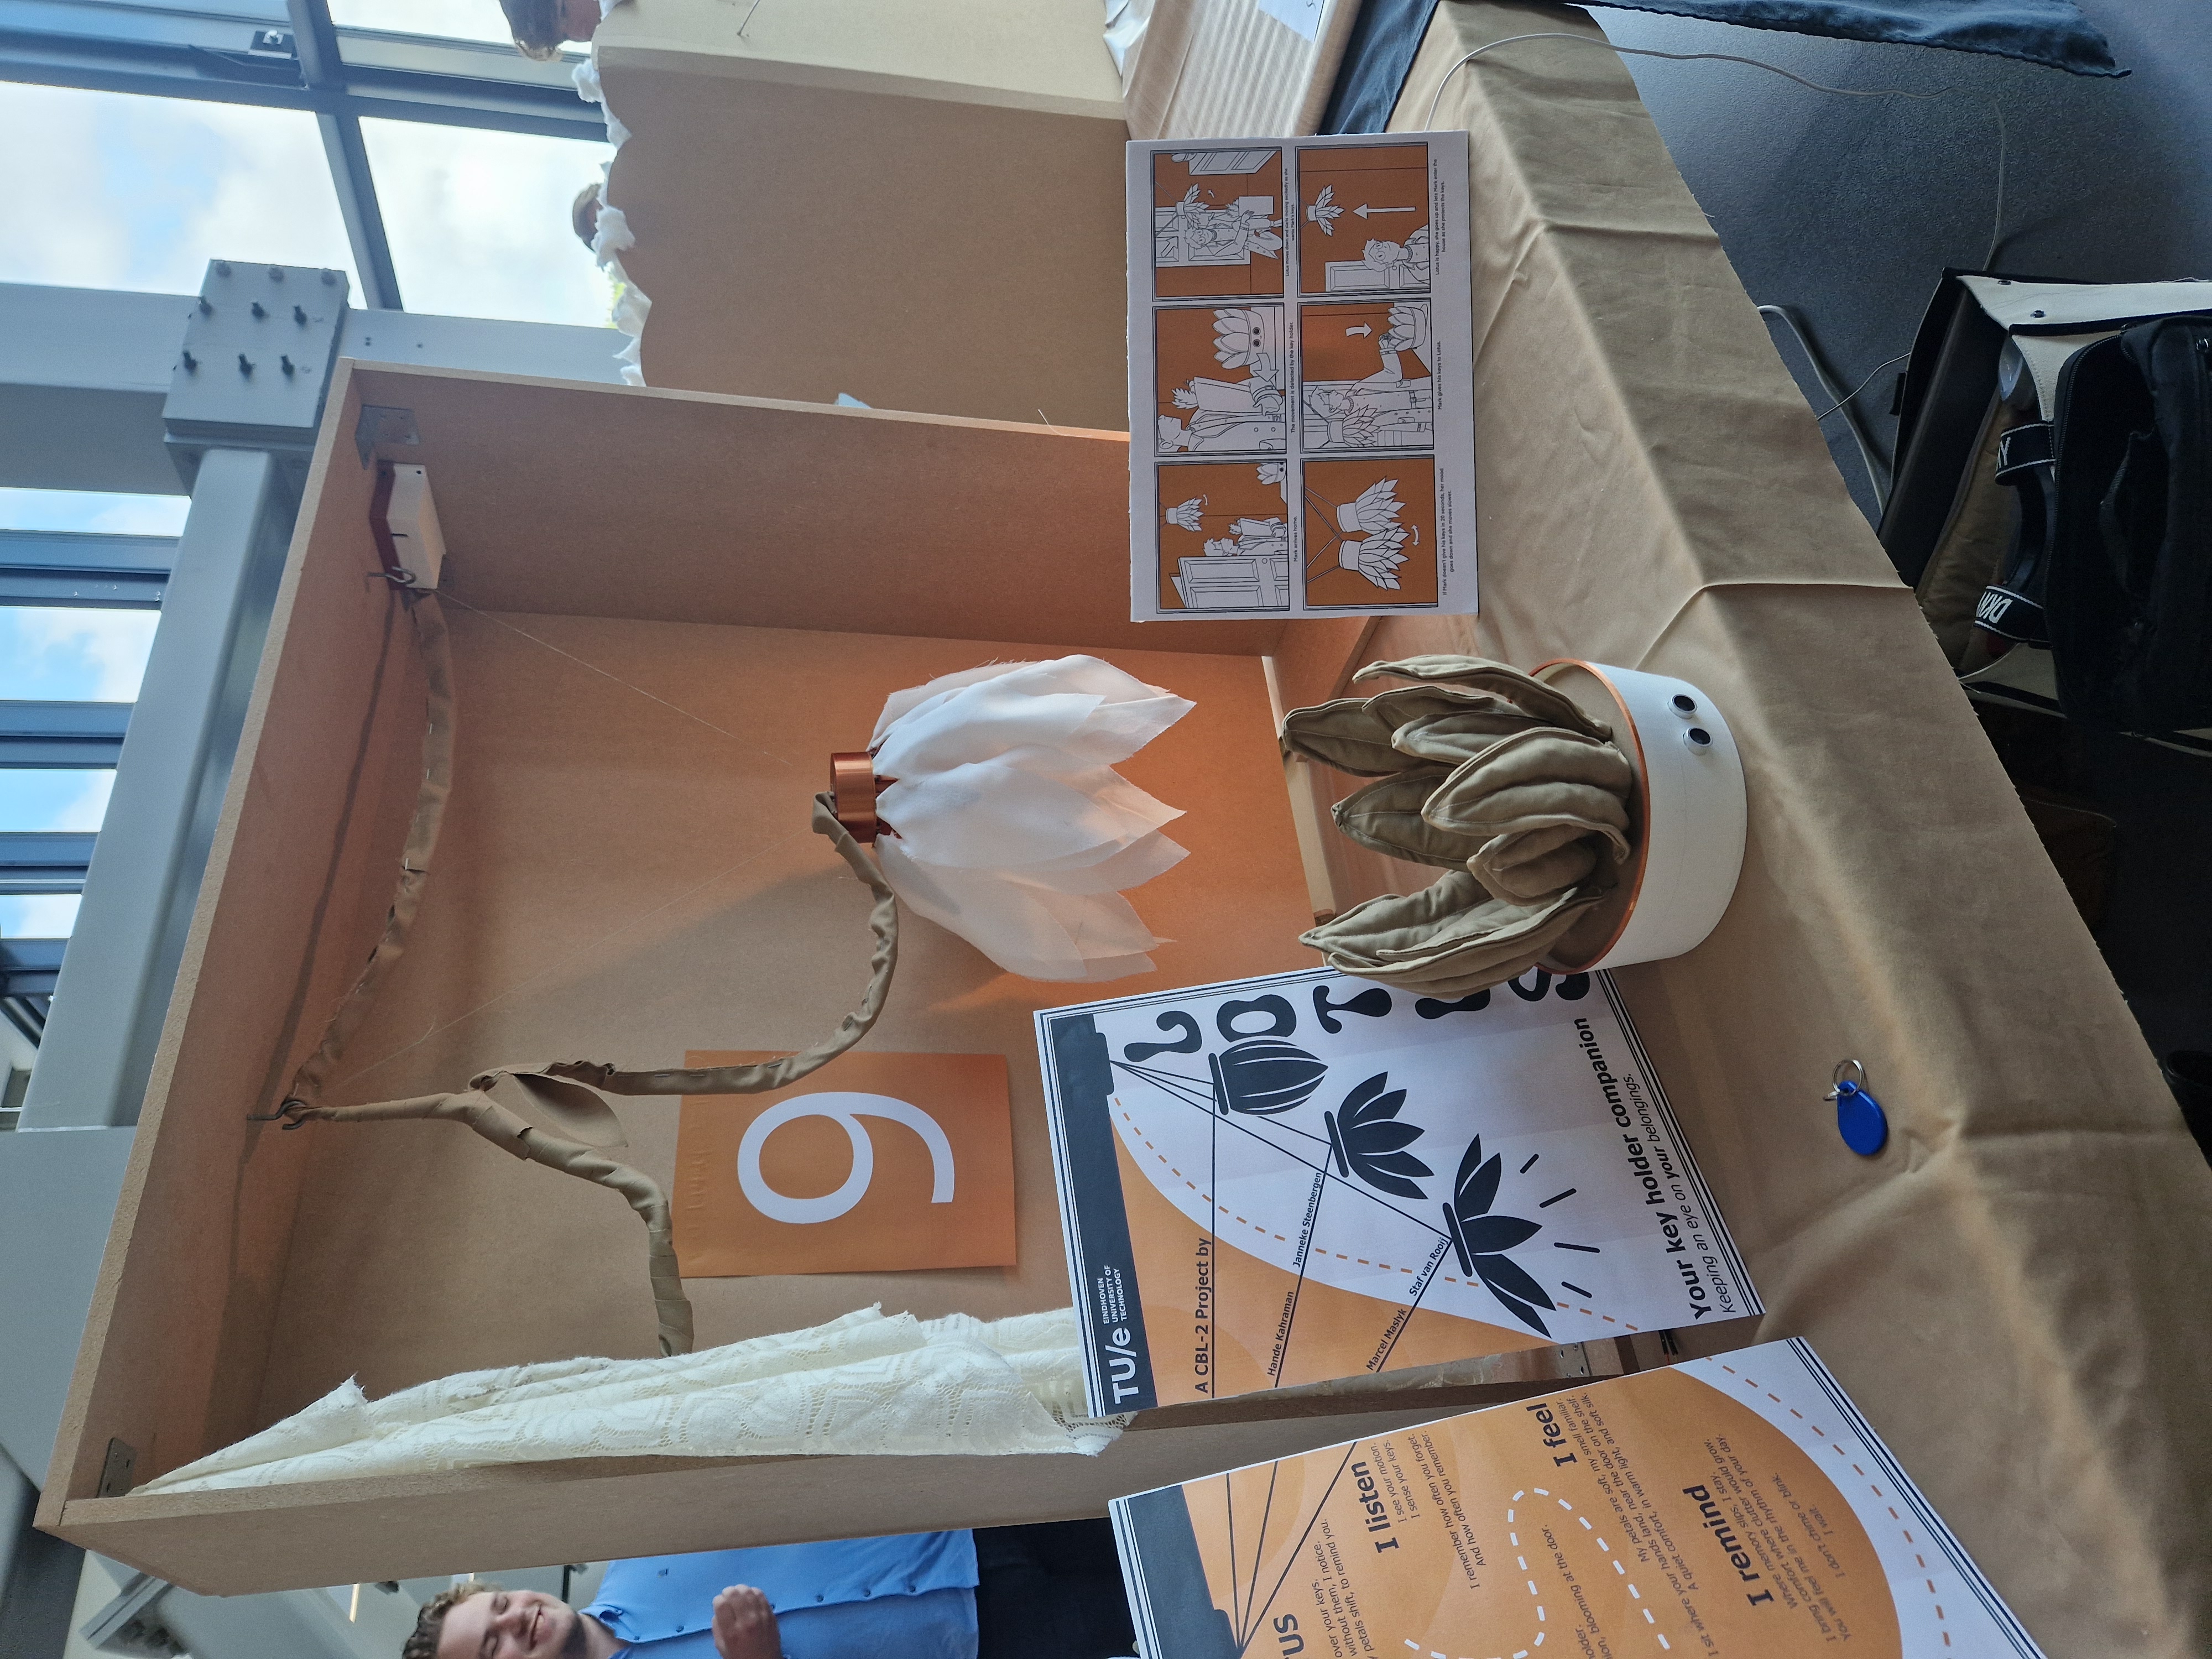
Figure 7: Our final demo-day setup, showcasing muted colors and a prototype that many considered fitting for their own home. The prototype worked the entire day, allowing anyone to interact with it. The subtle movements of our design played a key role in received feedback.
Professional Skills & Feedback
Working on this project has been quite challenging for me at times. The communication style of my other team members was quite different from mine, and I had a hard time making good progress whilst also making sure everyone had proper input and was also contributing to the discussion. Instead of giving up I saw this as an opportunity to learn and observe from my team members, and give people space to talk and discuss things on their own pace, even if it isn't as straightforward or clear as my own.
Feedback from coaches and tutors has had significant impact on our project. Especially during the starting phase of the project, our mentor gave us extremely valuable feedback on how we should go about dissecting what a companion is, and how we should converge to one design from a plethora of options. The petal mechanism was made possible through rigorous design and CAD feedback from our mechanical engineering coaches, and the inclusion of NFC has also started from a suggestion by one of our coaches.

Figure 8: low fidelity prototype used for feedback and exploring mechanisms.
Figure 9: medium fidelity prototype showing the result of feedback from our coaches, springs and a metal rod were used for hinges that return to their original position. This ensures rigidity and stability for mechanical movement.